


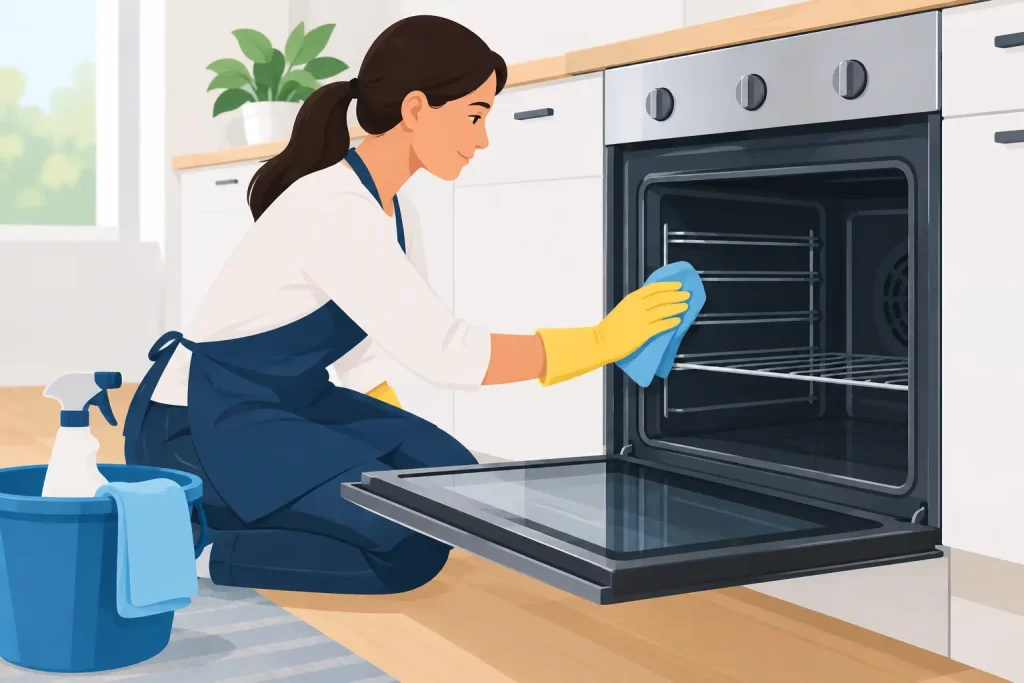
A rental oven can look clean at a glance and still fail the close inspection that matters. Grease collects behind rack supports, burnt residue darkens the door glass, and spills on the oven floor can smoke the next time the appliance is used. Knowing how to clean rental ovens properly helps tenants leave a fresh, presentable kitchen and gives landlords and property managers a better chance of preparing the home quickly for new residents.
The goal is not to make an older appliance look brand new. It is to remove avoidable grease, food buildup, odors, and visible marks without scratching surfaces, damaging heating elements, or using products that create a bigger problem than the mess itself.
How to Clean Rental Ovens Safely
Start with a completely cool oven. Turn it off at the wall or confirm that all controls are off, then open a window or run the kitchen exhaust fan for ventilation. Even lower-odor cleaning products can release fumes when they meet baked-on grease.
Before applying anything, check the oven manual if it is available. Some manufacturers advise against using commercial oven cleaner on self-cleaning liners, catalytic panels, heating elements, fan covers, or aluminum surfaces. If the manual is not available, treat unfamiliar interior panels carefully and avoid harsh products until you know what they are made of.
Take a few photos before you begin, particularly if the oven has existing scratches, chipped enamel, damaged seals, or stains that appear to be permanently baked into the surface. This is sensible move-out documentation and prevents pre-existing wear from being confused with cleaning damage.
Put on gloves and remove loose crumbs with a dry cloth, handheld vacuum, or soft brush. Cleaning around loose debris first stops it from turning into a gritty paste that can scratch the enamel.
Gather the Right Cleaning Supplies
A safe clean does not need a cupboard full of products. For most rental ovens, you will need warm water, dish soap, microfiber cloths, a non-scratch sponge, a plastic scraper, baking soda, white vinegar in a spray bottle, and a small brush or old toothbrush for corners.
For heavy grease, an oven-specific cleaner may be necessary. Choose one suitable for the oven’s interior material, follow its label directions exactly, and never mix it with vinegar, bleach, ammonia, or another cleaner. Strong products can be effective, but they require careful use, thorough rinsing, and good ventilation.
Avoid steel wool, abrasive scouring powders, metal scrapers, and rough scrubbing pads. They may remove residue quickly, but they can leave scratches that trap future grease and make an otherwise well-kept rental appliance look damaged.
Remove and Clean the Oven Racks First
Take the racks out before cleaning the cavity. They are easier to wash separately, and removing them gives access to the side walls and rack rails where grease often builds up.
If your sink or laundry tub is large enough, soak the racks in hot water with dish soap for at least 30 minutes. For stubborn spots, spread a baking soda paste over the residue and leave it for another 20 to 30 minutes before gently scrubbing with a non-scratch sponge. Rinse thoroughly and dry them completely.
If there is no suitable soaking space, place the racks on an old towel in a bathtub and use the same method. Be careful with porcelain, acrylic, or delicate tub surfaces. A towel beneath the racks helps prevent scratches, and it is best to rinse away cleaning residue promptly.
Do not force racks that are stuck or difficult to remove. Some slide on telescopic runners or have clips that need to be released first. A quick check of the appliance design can prevent bent rails or broken fittings.
Loosen Baked-On Grease Inside the Oven
For standard enamel oven interiors, make a paste from baking soda and a small amount of water. It should be thick enough to stay in place. Spread it across greasy areas on the floor, side walls, and back wall, avoiding heating elements, fans, vents, sensors, and exposed electrical parts.
Leave the paste to work for several hours or overnight if the buildup is heavy. It is a slower approach than caustic cleaner, but it is useful when you want to reduce harsh fumes and avoid aggressive scrubbing. The wait time is the trade-off, so begin this job a day before your final inspection if possible.
Use a damp cloth to remove the loosened paste, then lift any remaining residue with a plastic scraper. Work patiently in small sections. If a spot is still firm, reapply the paste rather than pressing harder with an abrasive tool.
A light spray of vinegar can help remove the last traces of baking soda. Wipe again with clean, damp microfiber cloths until no powdery residue remains. Finish with a dry cloth so you can see whether marks are truly gone or simply wet.
When a Stronger Oven Cleaner Makes Sense
Some ovens have years of carbonized grease, especially around the bottom edge of the door and beneath the rack levels. In this case, a purpose-made oven cleaner can save considerable time. It is often the practical choice for a heavily used rental or a property turnover with a tight deadline.
Apply it only where the product label permits. Protect surrounding cabinets and flooring, keep the product away from seals and electrical components, and do not leave it longer than directed. Afterward, wipe the oven several times with clean water. Any cleaner left behind can produce unpleasant fumes or smoke when the oven heats up.
Clean the Oven Door and Glass Without Damage
The inside of the door usually shows the most visible improvement. Apply baking soda paste to the glass and leave it for 15 to 20 minutes. Wipe it away with a damp microfiber cloth, then use a plastic scraper at a shallow angle for stubborn baked-on splatters.
Do not use a razor blade or knife on oven glass. A small scratch can weaken the surface and becomes much more noticeable in direct kitchen light. Also avoid flooding the door edges with water. Moisture can enter the gap between glass panels and leave streaks that are difficult to reach.
For the exterior, use warm soapy water and a soft cloth. Dry stainless steel in the direction of its grain to reduce streaking. Pay attention to the handle, control knobs, and the edges where fingers regularly touch. These details are small, but they make the oven look cared for during a move-out inspection.
Check the Oven Seal, Drawer, and Surrounding Areas
Wipe the rubber or fabric-like door seal gently with a damp cloth and mild dish soap. Do not soak it or pull at it. A damaged seal can affect oven performance, and it is not a part that should be scrubbed aggressively.
If the oven has a warming drawer or storage drawer, remove crumbs and wipe the inside, runners, and handle. Clean the top edge of the oven, the control panel, and the narrow gaps beside the appliance where grease and dust often settle. If the oven is freestanding, only pull it forward if it can be moved safely without straining the power cord, gas connection, or flooring.
For gas ovens, never spray cleaner directly onto burners, ignition parts, or gas openings. If there is a strong gas smell, stop work immediately, ventilate the area, and contact the appropriate property contact or qualified technician.
Should You Use the Self-Cleaning Setting?
A self-cleaning cycle can sound like the easiest answer, but it is not always the best move before leaving a rental. The cycle reaches extremely high temperatures and can produce smoke, strong odors, or residue that needs additional wiping afterward. Older appliances may also struggle with the stress of the cycle.
Use it only if the manufacturer permits it, the oven is in sound condition, and your landlord or property manager has not advised against it. Remove racks unless the manual says otherwise, ventilate well, and stay nearby while the cycle runs. Never use chemical oven cleaner before a self-cleaning cycle unless the appliance instructions specifically allow it.
A Final Inspection-Ready Check
Once everything is dry, replace the racks and inspect the oven with the door open and the kitchen lights on. Look at the bottom corners, rack rails, glass edges, door seal, knobs, and storage drawer. These are the areas most likely to be missed when cleaning quickly.
Run a clean, damp cloth over the interior one final time. If it comes away greasy or covered in powder, continue wiping. The oven should smell neutral, feel free of loose debris, and be ready for safe use by the next resident.
If the oven has heavy buildup, limited time, or delicate surfaces you are unsure about, professional move-out cleaning can be a practical choice. Eco Smart Cleaning can help bring kitchens back to a fresh, spotless standard while you focus on the other moving tasks waiting at the door. A careful oven clean is one less detail to worry about when it is time to hand over the keys.