

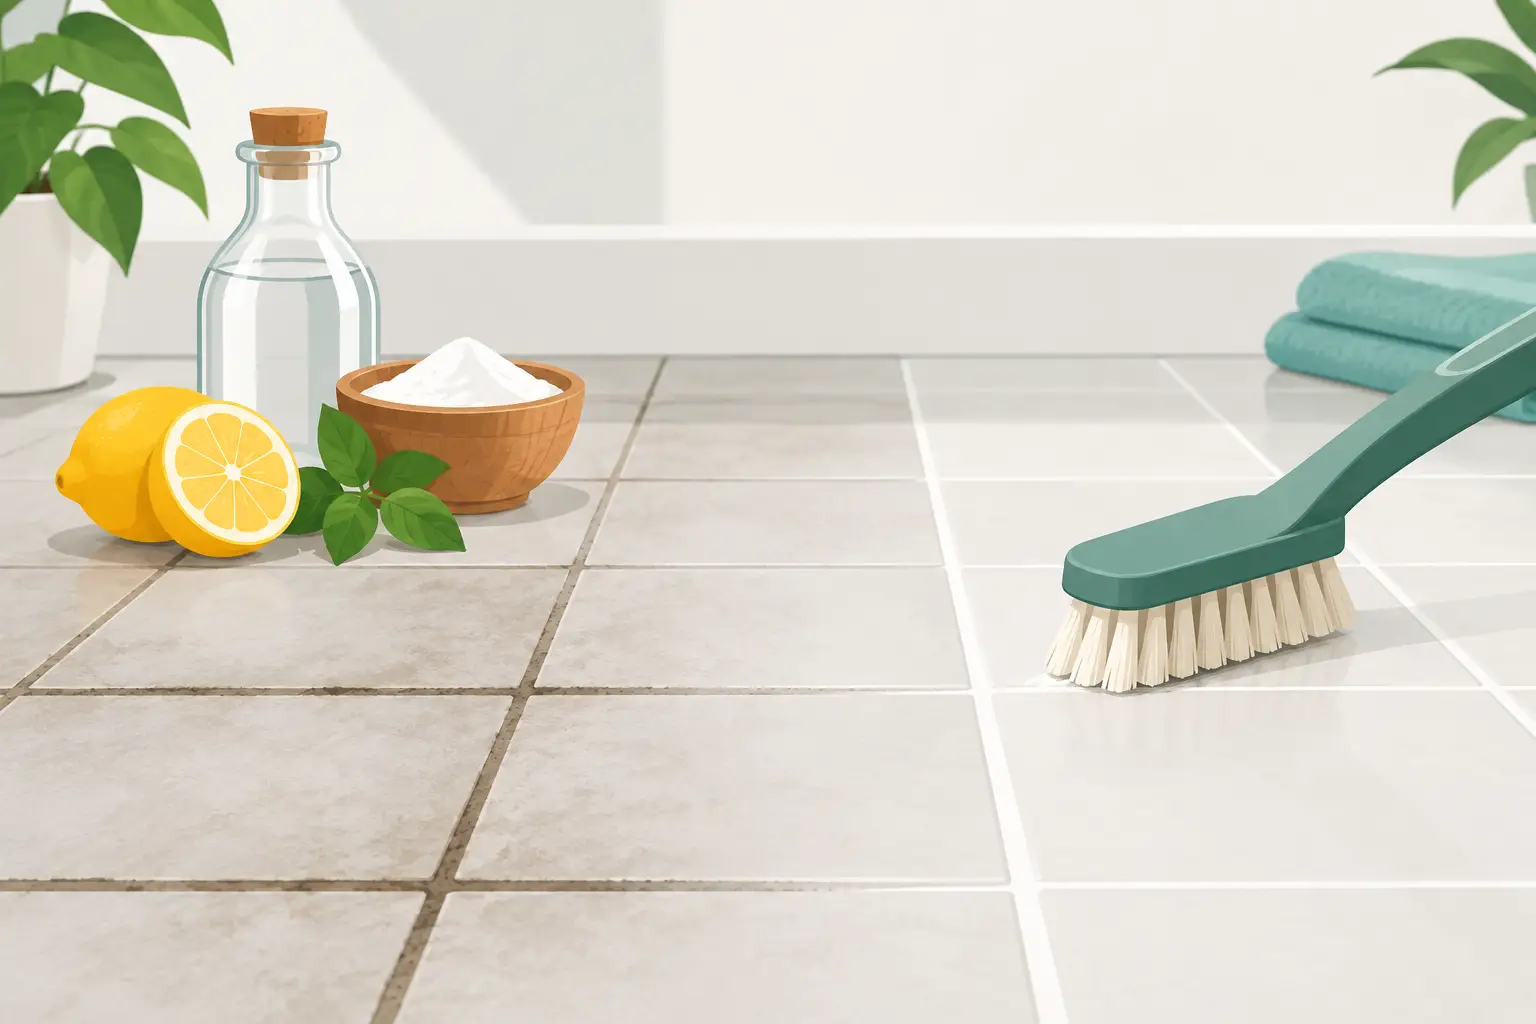
Grout can make an otherwise clean bathroom, kitchen, or entryway look neglected. It collects soap residue, cooking grease, tracked-in soil, and moisture in tiny pores that a quick mop cannot reach. Natural grout cleaning is a sensible first step for many homes, but the best method depends on the tile, the stain, and whether the grout needs cleaning or deeper restoration.
A gentle approach protects the finish around the grout while reducing the harsh chemical smell many homeowners prefer to avoid. The key is not finding one miracle ingredient. It is using the right amount of moisture, dwell time, light agitation, and thorough rinsing.
Why Grout Gets Dirty So Quickly
Most grout is cement-based and porous, especially if its sealer has worn away. In a shower, soap scum and body oils give grime something to cling to. On a kitchen backsplash or floor, grease and food splatter can leave a dull, sticky film. Entryways and tiled floors collect fine grit that settles into grout lines, often making white or light gray grout look brown before the tile itself looks dirty.
Dark spots need a closer look. They may be surface soil, mildew, or staining beneath an old sealer. A natural method can improve surface buildup, but it cannot always reverse permanent discoloration, water damage, or mold growing behind damaged caulk or tile. If grout is cracked, soft, or repeatedly darkens soon after cleaning, the underlying moisture issue should be addressed first.
Natural Grout Cleaning Starts With the Right Surface Check
Before applying any cleaner, identify the surrounding tile. Ceramic and porcelain are generally durable and suitable for careful scrubbing. Natural stone, including marble, travertine, limestone, and some slate, is more sensitive. Acidic cleaners such as vinegar or lemon juice can etch stone, dull its finish, and damage certain grout surfaces.
The same caution applies to colored grout. Strong acids, bleach, and overly aggressive scrubbing can fade pigment or weaken the grout over time. Test your chosen solution in an inconspicuous spot first, particularly in a newer bathroom, on decorative tile, or wherever grout has been sealed.
Vacuum or sweep floor tile before adding water. On walls and backsplashes, wipe away loose dust and crumbs with a dry microfiber cloth. This small step prevents loose dirt from turning into muddy residue while you scrub.
A Practical Natural Grout Cleaning Method
For ordinary soil and soap buildup on ceramic or porcelain tile, start with warm water and a mild soap such as unscented castile soap. Mix a small amount into warm water, apply it to the grout with a cloth or spray bottle, and allow it to sit for several minutes. Do not soak the area. Excess water can travel into unsealed grout and create more drying time than necessary.
Use Baking Soda for Extra Scrubbing Power
When grime remains after the first wash, make a paste with baking soda and a little water. It should be thick enough to stay in the grout line rather than run across the tile. Spread a thin layer over the stained areas and leave it for about 10 to 15 minutes.
Work the paste with a soft grout brush or an old soft-bristled toothbrush. Use short, controlled strokes along the line instead of pressing hard in one spot. Firm scrubbing may feel productive, but repeated heavy pressure can wear down soft grout and roughen its surface, making it more likely to trap dirt later.
Wipe the loosened residue away with a damp microfiber cloth, then rinse with clean water and dry the surface with a fresh towel. Drying matters, especially in bathrooms. It removes remaining residue and helps prevent moisture from lingering in the grout.
Use Steam Carefully When Water Alone Is Not Enough
A handheld steam cleaner can be a useful low-chemical option for sealed ceramic or porcelain tile. Steam helps soften oily film and loosen embedded dirt, which means less brushing is required. Follow the equipment instructions, keep the tool moving, and use a microfiber cloth to capture the released soil as you work.
Steam is not right for every surface. Avoid using it on loose tiles, damaged grout, unsealed natural stone, or areas where water may enter behind the wall or floor. High heat and moisture can worsen an existing adhesion or sealing problem.
What to Avoid, Even With Good Intentions
Vinegar is often recommended for household cleaning, but it is not a universal grout cleaner. On natural stone, it can cause lasting damage. On cement-based grout, frequent acid use can slowly erode the surface and make grout more porous. If you have porcelain or ceramic tile and choose to use vinegar occasionally, dilute it, keep contact time brief, and never use it on a surface you have not tested.
Do not mix baking soda, vinegar, hydrogen peroxide, bleach, ammonia, or commercial cleaners together. Combining products can reduce their effectiveness or create irritating fumes. Hydrogen peroxide may help with certain light-colored grout stains, but it is not a truly natural option and may lighten colored grout. It is best treated as a targeted stain treatment, not an everyday solution.
Skip wire brushes, abrasive scouring pads, and power tools unless you are trained to use them on tile and grout. They can scratch glazed tile, pull out grout particles, and turn a cleaning job into a repair job.
Keep Grout Cleaner Between Deep Cleans
The most effective grout care happens after the cleaning session. In showers, use a squeegee or dry microfiber cloth on tile walls after use when possible. Run the exhaust fan during showers and for a while afterward to reduce humidity. On tiled floors, sweep or vacuum regularly so abrasive grit does not settle into grout lines.
For kitchens and high-traffic entries, clean spills promptly and use mats where dirt and moisture enter the home. A neutral floor cleaner used at the correct dilution is usually safer for routine maintenance than repeated heavy-duty treatments. More product is not always better. Leftover cleaner can create a film that attracts fresh dirt.
Once grout is fully clean and dry, consider applying an appropriate grout sealer. A quality sealer will not make grout maintenance-free, but it can slow down staining and make routine cleaning easier. Sealing is particularly worthwhile in showers, kitchens, mudrooms, rental properties, and commercial spaces with regular foot traffic.
When Professional Grout Cleaning Is the Better Choice
DIY care works well for light to moderate buildup, but some grout problems call for professional equipment and experience. This includes widespread dark staining, greasy commercial kitchen floors, tiled areas affected by construction dust, move-out cleaning, and large spaces where hand scrubbing is impractical.
A professional can assess whether the problem is surface soil, mineral deposits, mold, failing sealer, or damaged grout. That distinction matters. Using the wrong product on stone or aged grout can leave the floor looking worse, while specialist cleaning methods can remove deeply embedded soil with less risk to surrounding surfaces.
For property managers and business owners, scheduled floor care also helps maintain a clean, professional first impression without interrupting daily operations. Eco Smart Cleaning approaches tiled surfaces with the same attention given to carpets, upholstery, and hard floors: match the method to the material, protect the asset, and leave the space fresh and presentable.
A Clean Result Should Not Come at the Cost of Your Tile
Natural grout cleaning is most successful when it is gentle, consistent, and matched to the surface in front of you. Start with mild soap, controlled moisture, and a soft brush. Escalate carefully only when the stain calls for it, and do not let a stubborn grout line persuade you to use a product that may damage the tile around it.
A little regular care can keep grout from becoming a weekend-long project. When stains persist despite careful cleaning, a professional assessment can protect your floors and help bring back the clean, cared-for finish your space deserves.


 +64 021 480 489