

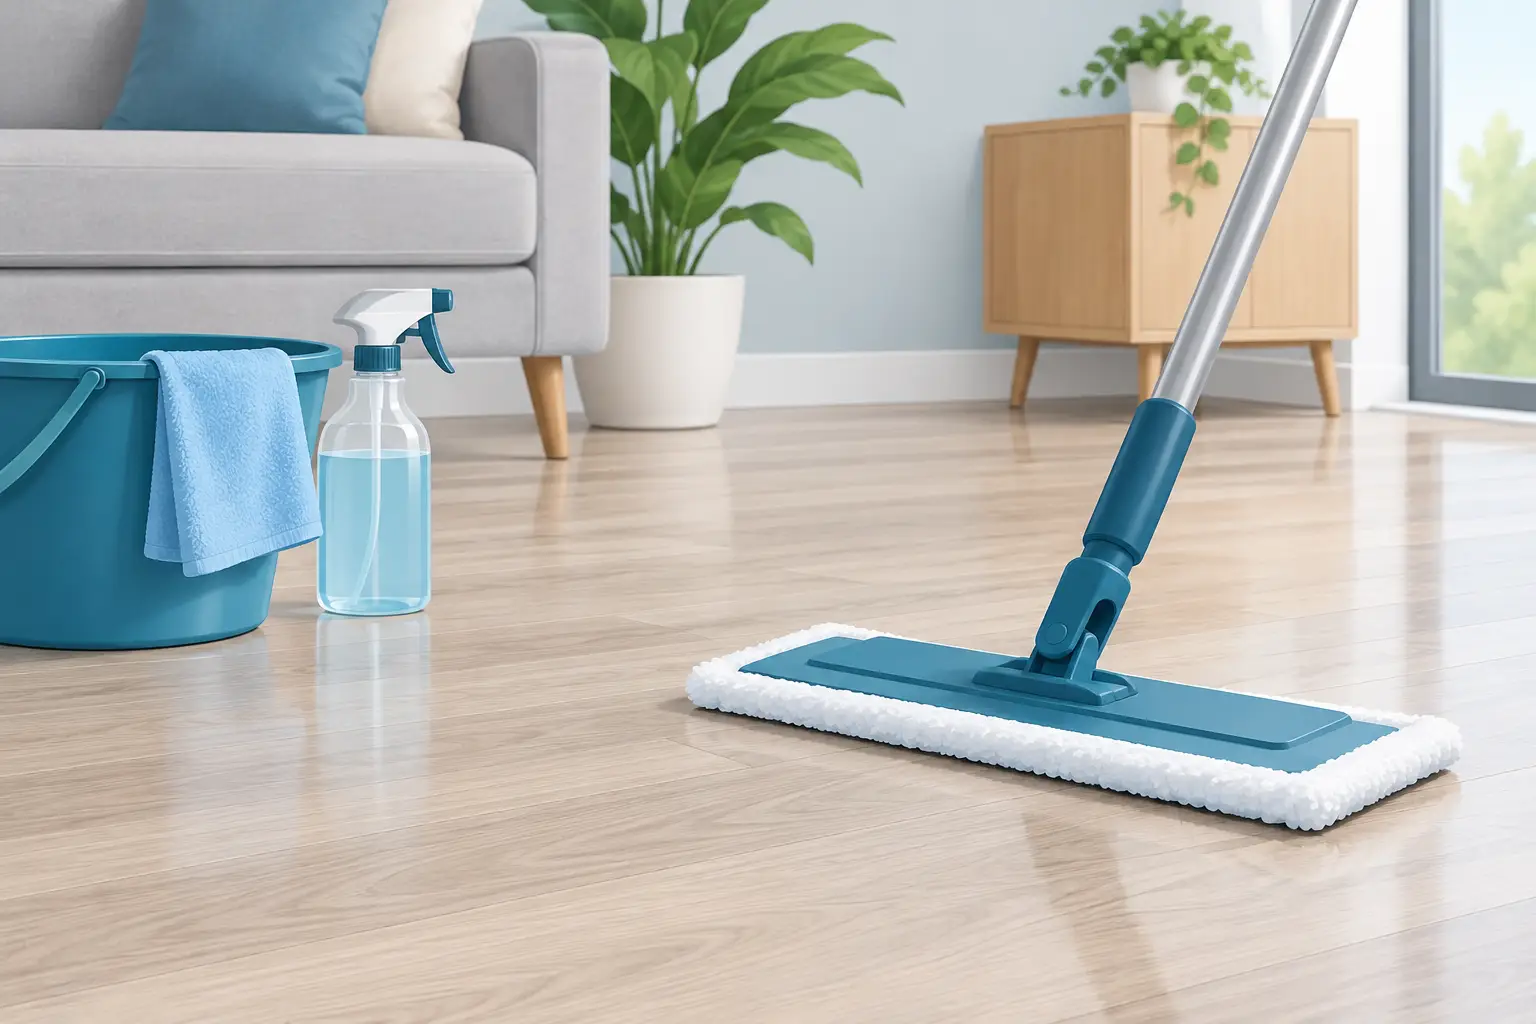
Vinyl is made to handle busy households, muddy shoes, pets, spills, and daily foot traffic. Still, it can lose its fresh, spotless appearance when grit is left to grind into the surface or when the wrong cleaner leaves a dull film behind. Knowing how to clean vinyl floors correctly protects the finish, keeps rooms looking cared for, and makes routine cleaning much easier.
The best approach is simple: remove dry debris often, clean with a lightly damp mop, and use products that are safe for the specific type of vinyl in your home or facility. More water and stronger chemicals do not mean a better clean. In fact, they can create problems at seams, edges, and under loose planks.
Start by Identifying Your Vinyl Floor
“Vinyl flooring” can describe several surfaces, including sheet vinyl, luxury vinyl plank (LVP), luxury vinyl tile (LVT), and vinyl composition tile in commercial spaces. Most have a protective wear layer, but that layer varies by product, age, and installation method.
If your floor was installed recently, check the manufacturer’s care instructions before using any cleaner. Some products are approved for certain vinyl floors but not others, especially if the floor has a no-wax finish, textured surface, or factory-applied coating. Following those instructions is also the safest way to protect any warranty.
Older vinyl may have worn areas, lifting corners, cracked seams, or discoloration. These floors need a gentler touch. Avoid soaking them, and do not scrub aggressively in one spot, as moisture can work beneath the surface and cause further lifting.
How to Clean Vinyl Floors Step by Step
A regular cleaning routine prevents the buildup that makes vinyl look gray, sticky, or uneven. For most homes, sweeping several times a week and damp mopping weekly is enough. Kitchens, entryways, bathrooms, offices, and other high-traffic areas may need attention more often.
1. Remove loose dirt before mopping
Use a soft broom, microfiber dust mop, or vacuum with the hard-floor setting engaged. Turn off any beater bar or rotating brush designed for carpet, as it may scratch the vinyl surface over time.
This step matters more than it seems. Sand, small stones, and dry grit act like sandpaper under shoes and mop heads. Once they are removed, the wet-cleaning stage can focus on actual residue rather than moving dirt around.
2. Use a mild cleaning solution
Fill a bucket with warm water, not hot water, and add a small amount of pH-neutral floor cleaner made for vinyl. If you do not have a dedicated product, a few drops of mild dish soap in a bucket of water can work for routine cleaning.
The solution should feel lightly soapy, not heavily sudsy. Too much detergent leaves a residue that attracts more dust and can make the floor look dull. Avoid pouring cleaner directly onto the floor unless the product label specifically instructs you to do so.
3. Mop with minimal water
Use a clean microfiber mop and wring it out thoroughly. The mop should be damp rather than dripping. Work in manageable sections, rinsing the mop as it collects dirt.
Pay attention to edges, around cabinets, and beside appliances, where grime can accumulate. In bathrooms and kitchens, dry the floor afterward with a clean towel or dry microfiber pad if water has collected near seams or baseboards.
4. Rinse only when needed
If the floor still feels sticky after cleaning, mop once more with plain, clean water using a well-wrung mop. This removes leftover cleaning solution without flooding the surface.
A rinse is especially useful after cleaning high-traffic commercial floors, where oils from shoes, food spills, and repeated spot treatments can create a film. Change the water when it turns cloudy. Dirty water will not produce a polished result.
Removing Spills, Scuffs, and Stains Safely
The sooner a spill is cleaned, the less likely it is to stain or become sticky. Wipe up water, food, pet accidents, and drink spills promptly with a soft cloth. Follow with a small amount of mild cleaner, then wipe the area dry.
For black heel marks or light scuffs, rub gently with a damp microfiber cloth. A small amount of baking soda paste can help with a stubborn mark, but use it sparingly and test it first in an inconspicuous area. Baking soda is mildly abrasive, so repeated hard scrubbing can affect the finish.
Grease near a stove or in a break room may need a little more attention. Apply diluted mild dish soap to a cloth rather than directly to the floor, wipe the affected area, and follow with a clean damp cloth. Do not leave degreaser sitting on vinyl for extended periods.
Ink, dye, hair color, and other strong pigments can be difficult because they may penetrate or discolor the wear layer. Test any treatment in a hidden spot first. If a stain remains after gentle cleaning, professional floor care may be safer than escalating to harsh solvents that can permanently damage the surface.
Cleaners and Tools to Avoid
Vinyl floors do not need wax, polish, or heavy-duty chemicals to look clean. Products that promise extra shine can leave a coating that streaks, traps soil, or eventually peels. Steam mops are also best avoided unless your flooring manufacturer specifically approves them. High heat and moisture can affect adhesive, seams, and plank edges.
Avoid abrasive powders, steel wool, stiff scrub brushes, ammonia, bleach, solvent-based products, and highly acidic cleaners. These can scratch, discolor, dry out, or weaken the protective layer. Vinegar is often suggested as a household cleaner, but it is not the right choice for every vinyl floor. Its acidity can be too harsh for some finishes, so a pH-neutral product is the more dependable option.
Be cautious with rubber-backed mats as well. Some rubber and latex backings can react with vinyl and leave yellow marks. Choose mats labeled safe for vinyl flooring, particularly near exterior doors where they help catch dirt and moisture.
Keep Vinyl Floors Looking Better Between Cleans
Good floor care is not only about mopping. Small preventive habits reduce wear and keep cleaning time under control. Use doormats at entrances, wipe up spills promptly, and place protective pads under furniture legs. When moving furniture, lift it instead of dragging it across the room.
In homes with pets, regular sweeping keeps claws, tracked-in grit, and shedding hair from building up. In workplaces, schools, clinics, and retail areas, entrance matting and scheduled maintenance are especially valuable. A consistent cleaning program supports hygiene, helps reduce slip risks from spills, and maintains a professional first impression for visitors, staff, and customers.
Sunlight can also affect vinyl over time. Close blinds during the brightest part of the day or use window coverings in areas with strong direct sun. This is particularly helpful for vinyl planks installed near large windows or glass doors.
When a Vinyl Floor Needs Professional Attention
Routine cleaning handles everyday soil, but some situations call for a more specialized approach. Deeply embedded grime in textured vinyl, sticky buildup from old products, recurring scuffing in a busy hallway, or discoloration around high-use areas may require professional-grade equipment and surface-appropriate cleaning methods.
A professional can assess whether the issue is removable soil, damaged finish, adhesive failure, moisture damage, or permanent staining. That distinction matters. Scrubbing harder may improve dirt, but it will not repair a worn wear layer or a floor that has started lifting at the seams.
For rental properties, move-out cleaning, and commercial spaces, detailed floor care can also make a noticeable difference in how clean and well-managed the property feels. A floor that is properly cleaned and dried looks fresher without being overly glossy or slippery.
Clean vinyl floors should feel smooth underfoot, look even in natural light, and be free from sticky residue. Keep the routine gentle and consistent, and address marks early. That practical care will help your floors stay clean, safe, and presentable through the everyday traffic they were designed to handle.


 +64 021 480 489